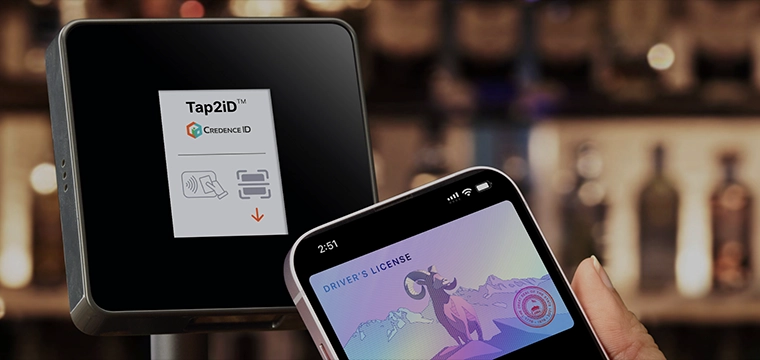
In the past student IDs were created in a labor-intensive process in which a photograph was taken, developed via traditional film processes, trimmed out, and laminated onto the badge with the printed information. Enrollment verification and status was indicated via stickers affixed to the ID or holes punched into it’s surface. Barcodes were pasted onto the badge as added ID card functionality was desired. In some cases, a magnetic stripe was even added to these low-tech badges using a special laminating ‘pouch.’ On a surprising number of campuses, this method is still in use.
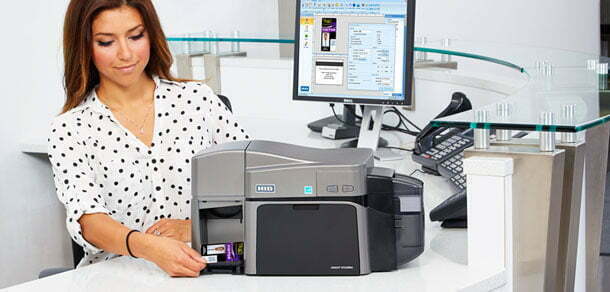
More frequently today, however, the system of choice for electronic ID card production is video imaging. It is this process that has propelled the advances in ID system functionality seen in recent years. The process, in its most basic form, involves the capture of images using video or still digital cameras, storage of the image as a digital file, and printing of the image with associated database information onto plastic card stock.
There is a great deal more to this process than meets the eye. The following article addresses the components of this process, paying particular attention to what one must understand when recommending purchase of a system.
Prior to card production, important steps have already occurred. Typically, a database has been created from which cardholder data will be pulled during the production process. The data can be copied from existing university files, can be created from scratch if none exists, or can be accessed in real-time from the live university database. Data should be imported or prepared for reference by the card production system in advance of the arrival of prospective cardholders. This will significantly reduced the elapsed time to produce an ID card.
Modern imaging systems accept one or more common database formats through support of the Open Database Connectivity Standard (ODBC). Support for this standard plays a crucial role in the portability of a database to future carding systems or other administrative systems. Thus, a key component to look for in choosing an imaging system is ODBC support.
The cardholder’s image is captured by the video or still camera and the data is sent to the PC. A variety of video signals are commonly used—RGB, S-VHS, and NTSC. Though RGB provides the highest quality image, the camera cost is higher than others. The ratio of cost to quality is a decision that must be made on an individual basis as most video signals can produce a good quality image.
Once at the PC, a critical phase in the process occurs. The image is digitized—converted into binary information—by an image-capture board. This board—arguably more than the camera or printer—will determine the quality of the finished output. The digitized image is compressed and stored on the PC’s hard drive or a file server. System administrators have two important decisions to make, choosing an image format and determining the proper compressionratio. Look for systems that offer flexibility for both.
Image format will have an impact on the storage size of the image, the accessibility of the photo, and the quality of the printed image. The JPEG (Joint Photographic Experts Group) standard is the most widely used format for compression and storage of photographic data. JPEG images are portable in that they may be used by many different card production systems as well as most peripheral, value-added applications (e.g. class roster printing).
JPEG compression is a “lossy” compression method, meaning that the image quality suffers as the compression ratio increases. Essentially, the more the image is compressed, the smaller its file size becomes. However, the more it is compressed, the poorer the resulting image will be when printed. Because the photos used for ID card printing are small in physical size (e.g. 1 x 1.25 inches), small jpeg files will result in very usable images with a typical storage size between 7 and 20 kilobytes.
At this point, database information and image data are available and have been linked together by the imaging software. All information is ready to be shipped to the card printer. Now the printer support offered by the card production system becomes critical. Administrators should look for a system that is capable of supporting different printer models, as well as supporting scalability of the system. Today, this support is incorporated into most card production systems and most printer models include Windows printer drivers. In certain cases, however, special printer drivers may need to be purchased. Make certain to check with your supplier to see if additional drivers will be required and budget accordingly.
The speed with which a card production system produces a card is the most widely used measure of a system’s performance, and the most misunderstood. Card production speed must be broken into three distinct parts: photo capture, processing, and printing. When evaluating a card production system, make certain that you consider all three phases of production in order to accurately gauge a system’s speed. A PRINTER rated for printing one card every forty-five seconds cannot be mistaken for a SYSTEM that produces a card every forty-five seconds. Ask detailed questions pertaining to your institution’s needs. Did the printer print an image and encode a magnetic stripe? Did the card production system automate any administrative tasks, e.g. assigning a library barcode or number? Additional tasks can add additional time. In general, most of the systems available today have speeds adequate to support the day-to-day operations of a campus card office. It is during the peak times such as orientation that system speed becomes an issue.
The digitized card production has changed a great deal in the twelve-plus years since the first campuses began using the technology. Systems that once were top of the line campus badging stations can now be purchased in office supply stores for several hundred dollars. And new high-quality systems can now be purchased for just thousands of dollars rather than tens of thousands.


